April 2024

Live Event Video Production

Go Live! Easy Steps to Live Event Video Production

In today’s digital age, live events have transcended physical boundaries, reaching global audiences through the power of live event video production. Whether it’s a conference, concert, wedding, or sporting event, going live allows you to connect with viewers in real-time, creating an engaging and immersive experience. However, the thought of live video production can seem daunting to many.

Don’t Stress! We’ve broken down the process into easy, manageable steps to help you navigate the world of live event video production like a pro.

Live Video Production

Step 1: Pre-Planning Your Live Event

1. Define Your Objectives: Start by clearly defining the purpose of your live event. Are you aiming to educate, entertain, or engage your audience? Your objective will guide every decision you make from here on out.

2. Know Your Audience: Understanding your target audience is crucial. Consider their interests, demographics, and the platforms they frequent. This will help you tailor your content and choose the right platform for broadcasting.

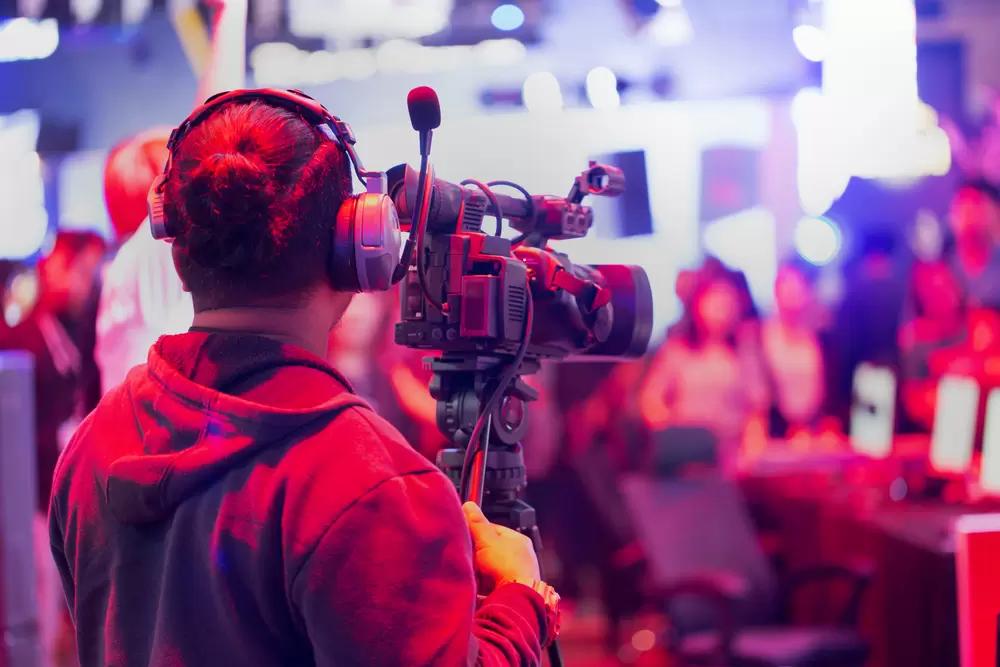
3. Select the Right Equipment: Depending on your budget and the scale of your event, your equipment needs may vary. At a minimum, you will need a reliable camera, microphones, a stable internet connection, and a computer or hardware encoder for streaming. Consider renting professional equipment if your budget allows.

4. Choose a Streaming Platform: There are numerous platforms for live streaming, including YouTube Live, Facebook Live, Twitch, and professional services like Vimeo. Select a platform that aligns with your audience’s preferences and your event’s needs.

Step 2: Preparing for Your Live Event

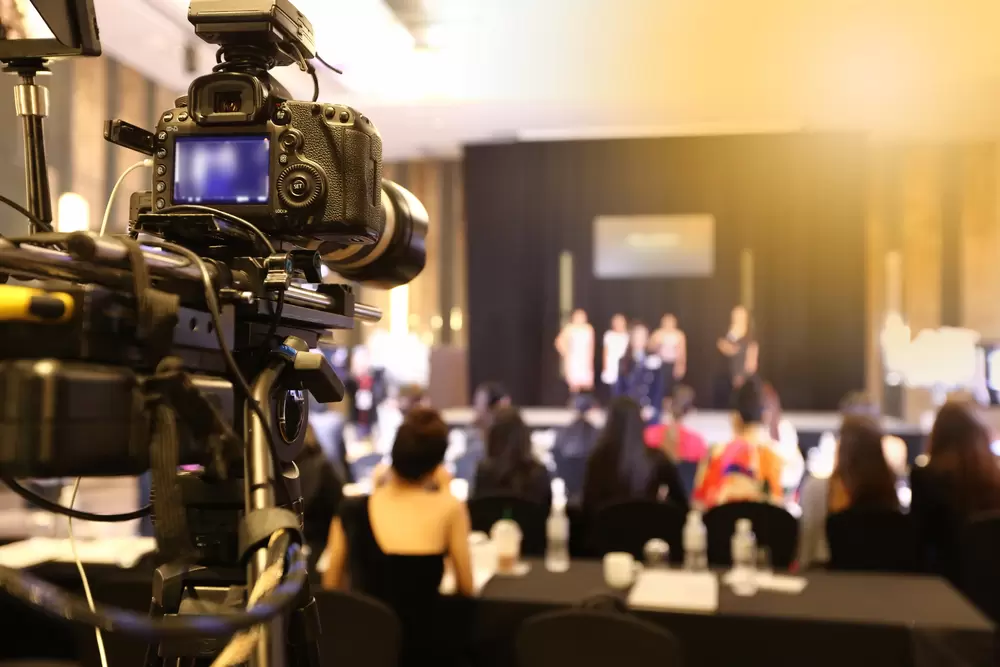
1. Scout Your Location: The location of your event can significantly impact your live event video production. Assess the venue for lighting, acoustics, and internet connectivity. Ensure there’s ample space for your equipment and crew.

2. Plan Your Content: Outline the flow of your event. If it includes multiple segments or speakers, consider creating a detailed run sheet that includes timings, speaker names, and any special instructions. This will help keep your event on track.

3. Conduct a Technical Rehearsal: This is a critical step that should not be overlooked. Test your equipment, streaming connection, and any multimedia presentations to iron out potential issues before going live.

4. Promote Your Event: Use social media, email newsletters, and other channels to promote your event. Provide clear instructions on how to access the live stream and consider creating a countdown to build anticipation.

Live Events Video Production

Step 3: Going Live

1. Set Up Early: On the day of the event, arrive early to set up your equipment and conduct a final run-through. This will give you ample time to adjust if anything doesn’t go as planned.

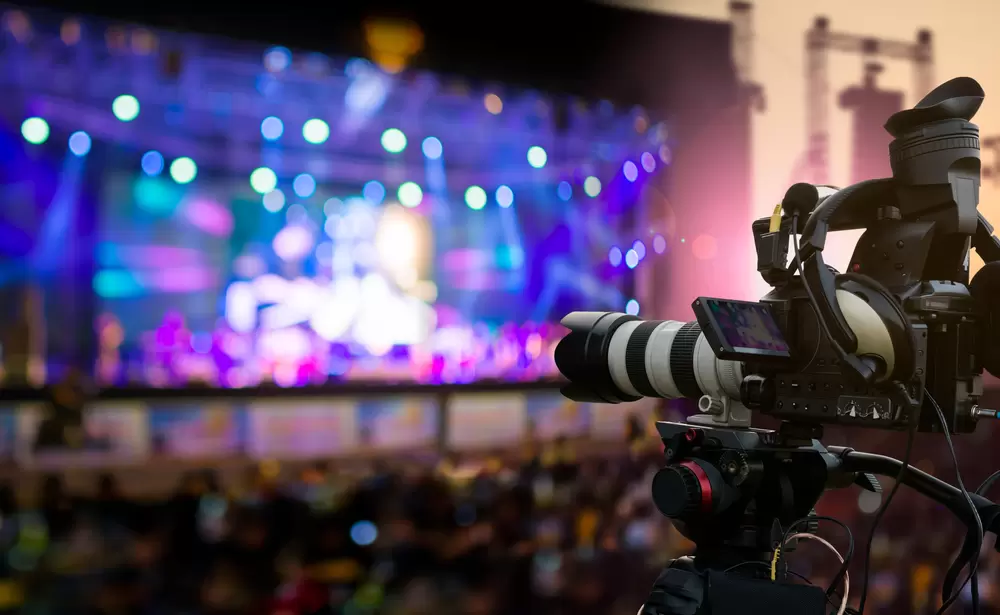
2. Monitor Your Stream: Once live, continuously monitor your stream for quality and address any issues promptly. It’s helpful to have someone dedicated to this task so the main production team can focus on the event.

3. Engage With Your Audience: Encourage viewer participation through live chats, Q&A sessions, or polls. Engagement can significantly enhance the viewer experience and keep your audience interested.

4. Have a Contingency Plan: Despite thorough preparation, live events can be unpredictable. Have backup plans for critical components like power supply, internet connectivity, and equipment.

Step 4: Post-Event Activities

1. Analyze and Learn: Most streaming platforms provide analytics on viewer engagement, peak viewing times, and other valuable data. Analyze this information to understand what worked well and what can be improved for future events.

2. Follow Up: Thank your audience for attending and follow up with any post-event materials, such as recordings of the live stream, additional resources, or answers to unanswered questions during the event.

3. Repurpose Your Content: Consider repurposing your live content into smaller video segments, blog posts, or social media content to extend the life of your event and continue engaging your audience.

Going Live Event Video

How to do live event video production?

Live event video production requires meticulous planning, coordination, and execution to ensure a seamless and engaging live broadcast. Here’s a comprehensive guide on how to carry out live event video production, from pre-production planning to post-event wrap-up.

Pre-Production

1. Select a Streaming Platform: Understand the purpose of your event and who your target audience is. This will guide decisions on content, platform choice, and marketing strategy.

2. Select a Streaming Platform: Choose a platform that suits your audience’s preferences and the technical requirements of your event. Popular options include YouTube Live, Facebook Live, Twitch, and professional services like Vimeo Livestream.

3. Site Survey and Technical Scouting: Visit the venue to check the layout, lighting, acoustics, and internet connectivity. Identify potential challenges and solutions, like additional lighting or sound equipment.

4. Equipment Checklist: Ensure you have all necessary equipment, including cameras, microphones, audio mixers, encoders, and tripods. Consider renting high-quality gear if you don’t own it.

5. Plan Your Content: Outline the event schedule, including any speeches, performances, or segments. Plan camera angles and transitions to ensure smooth coverage of the entire event.

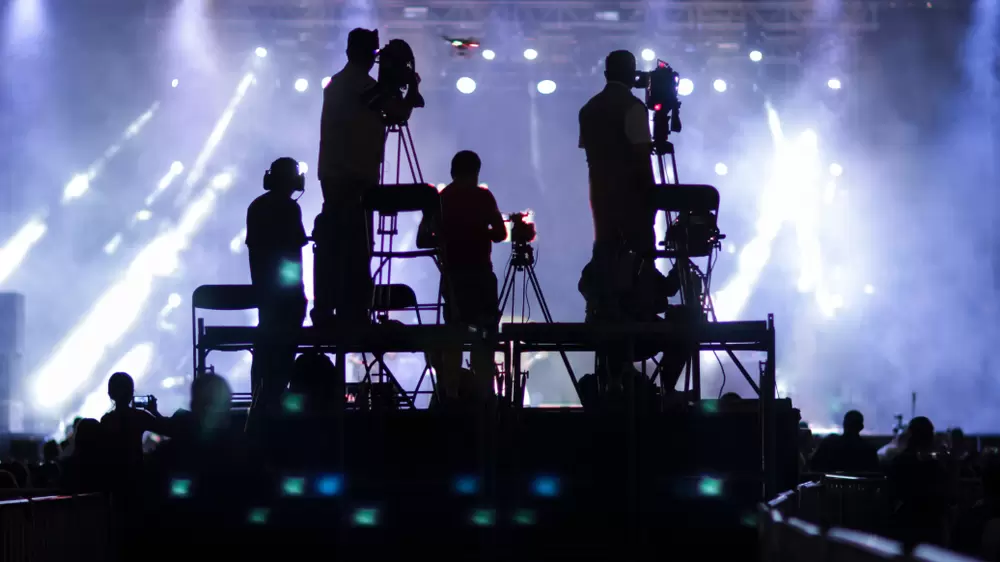
6. Assemble Your Team: A successful live production requires a skilled team, including a director, camera operators, sound engineers, and a streaming technician.

Production

1. Set Up Early: Arrive at the venue well before the event starts to set up and test your equipment. This gives you time to troubleshoot any issues.

2. Conduct a Technical Rehearsal: Test all equipment, including cameras, microphones, and the streaming setup. Make sure all team members know their roles and the event flow.

3. Monitor Audio and Video Quality: Continuously check the sound and video quality throughout the event. Be prepared to adjust microphone levels and camera angles as needed.

4. Engage with the Audience: Use live chat, polls, and Q&A sessions to interact with viewers. Assign a team member to monitor and respond to audience comments.

5. Be Ready for the Unexpected: Live events are unpredictable. Have backup equipment ready, and be prepared to adapt to changes in the event schedule or technical issues.

Preparation For Live Event

Post-Production

1. Debrief and Analyze: After the event, gather your team for a debrief session. Discuss what went well and what could be improved for future events.

2. Edit the Recording: If you recorded the live event, consider editing the footage to highlight key moments or to correct any issues. You can then share the edited version on your website or social media channels.

3. Analyze Performance: Review analytics from your streaming platform to understand viewer engagement, peak viewing times, and audience demographics. Use this data to improve future live events.

4. Follow Up with Your Audience: Thank viewers for participating. Consider sending a follow-up email with a survey, links to the event recording, or promotional material for future events.

Conclusion

Live event video production opens up a world of opportunities to connect with a broader audience in a dynamic and interactive way. By following these easy steps, you can ensure a successful live streaming experience that captivates and engages. Remember, the key to a great live event is not just in the technology or production value, but in your ability to tell a compelling story and create a meaningful connection with your viewers. With careful planning, preparation, and a touch of creativity, you’re well on your way to making your live event a resounding success. Happy streaming!

Go Live! Easy Steps to Live Event Video Production Read More »

Wedding Photo Booths

Capture Memories: Wedding Photo Booths on a Budget

Your wedding day is a momentous occasion filled with love, joy, and cherished memories. Among the various elements that contribute to the magic of the day, capturing those precious moments through photographs stands out as a timeless tradition. While hiring a professional photographer is essential, adding a photo booth to your wedding festivities can enhance the fun and provide guests with an interactive way to create lasting memories. In this guide, we’ll explore how to rent a photobooth for a wedding into your celebration without exceeding the budget.

The Appeal of Wedding Photo Booths

Wedding photo booths have become increasingly popular in recent years due to their ability to entertain guests and capture candid moments. Unlike traditional photography setups, photo booths offer a relaxed and playful environment where guests can let loose and express themselves freely. From silly props to creative backdrops, photo booths provide endless opportunities for guests to unleash their creativity and create personalized mementos of your special day.

Wedding Photo Booth

Budget-Friendly Photo Booth Ideas

While the idea of having a photo booth at your wedding may seem extravagant, there are several budget-friendly options available to suit any couple’s financial constraints. Here are some creative ideas to consider:

  1. DIY Photo Booth: Set up a DIY photo booth using simple materials such as a backdrop, camera, tripod, and props. You can create a backdrop using fabric, streamers, or even repurpose existing decorations from your wedding venue. Encourage guests to use their smartphones to take photos, or designate a friend or family member as the “photographer” to capture the moments.

  2. Digital Photo Booth Apps: Utilize digital photo booth apps that allow guests to take photos using their smartphones. These apps typically offer various filters, frames, and editing options to enhance the photos. Simply create a designated area with a backdrop and props, and provide instructions for guests to download the app and start snapping away.

  3. Polaroid Guest Book: Combine the nostalgia of Polaroid cameras with the tradition of guest books by setting up a Polaroid station at your wedding. Place a Polaroid camera, film, and props on a table, along with a guest book where guests can affix their photos and leave heartfelt messages. Not only does this serve as a unique keepsake, but it also encourages interaction among guests.

Social Media Sharing Station: Create a designated area where guests can take photos with their smartphones and instantly share them on social media using a specific hashtag. Set up a backdrop, provide props, and display instructions on how to participate. This not only provides entertainment but also allows you to easily collect and view all the photos taken throughout the event.

Tips for a Successful Wedding Photo Booth

To ensure your wedding photo booth is a hit with guests, consider the following tips before to rent a photobooth for a wedding:

  1. Location is Key: Choose a location for the photo booth that is easily accessible and well-lit. Avoid placing it in a high-traffic area to prevent congestion.

  2. Provide Props: Stock up on a variety of props such as hats, glasses, signs, and masks to encourage creativity and spontaneity.

  3. Personalize the Experience: Incorporate elements of your wedding theme or color scheme into the photo booth backdrop and props to tie everything together.

  4. Encourage Participation: Include signage or announcements throughout the
    event to remind guests about the photo booth and encourage them to join in the fun.

Create a Keepsake: Consider providing guests with printed copies of their photos or creating a digital photo gallery that they can access after the wedding to relive the memories.

Photobooth For a Wedding

How much does a photobooth cost to rent?

The cost of renting a photo booth for an event, such as a wedding, can vary widely depending on several factors, including the location of your event, the length of time you want the photo booth for, the type of photo booth, and any additional features or customizations you request.

Basic Photo Booth Rental Costs

  • Standard Rental Prices: The average cost of renting a basic photo booth typically ranges from $300 to $600 for a few hours. This often includes delivery, setup, an attendant, a basic backdrop, and unlimited photo strips.

Factors That Affect Cost

  • Type of Photo Booth: Digital photo booths (which might offer digital props and backgrounds) tend to be less expensive than traditional or mirror photo booths. Vintage or highly specialized booths could increase the price.
  • Rental Duration: Most companies offer packages based on time, starting with a minimum of 2-3 hours. Longer events will require a higher rental fee. Expect to pay more for each additional hour beyond the package.
  • Features and Customizations: Adding custom backdrops, props, photo strip designs, or incorporating social media integration can increase costs. Unlimited prints, high-quality cameras, and online galleries might also add to the base price.
  • Location: Rental costs can be higher in major metropolitan areas and may also include travel fees if the venue is far from the rental company’s base.

Time of Year: Like many wedding-related services, renting a photo booth may be more expensive during peak wedding season due to higher demand.

Conclusion

A wedding photo booth is a delightful addition to any celebration, offering guests a chance to create cherished memories while adding a touch of entertainment to your special day. By exploring budget-friendly options and incorporating personal touches, you can create a photo booth experience that will be remembered fondly by you and your guests for years to come. So, strike a pose, grab a prop, and let the memories unfold with rent a photobooth for a wedding.

Capture Memories: Wedding Photo Booths on a Budget Read More »